iPhone Camera Features
We nearly all have the technology at our fingertips these days to take photographs of a very good standard just by using our mobile phones. Myself, I'm an Apple user and have been for many years mainly because I like their design, usability and the way that they synchronise with each other.
When I am posting to Instagram for example, depending on my location when I am due to post, I can AirDrop the image between my iPhone, iPad and iMac seamlessly. Similarly I nearly always use this method when download photos that I have just taken from my iPhone to the other devices.
There are simple features that not everybody are familiar with on the iPhone camera that can enhance the user experience and improve the end results, so I am going to list a few below. Even if you know most of them there might just be one that you were unaware of.
QUICK ACCESS UNLOCK
When your iPhone is locked and you need the camera active as quickly as possible, you don't need to use the fingerprint recognition or try and put your code number in. A quick slide from the right to the left when the home screen is active will automatically present you with then camera ready to snap that elusive picture.
GRID GUIDELINES
I always seem to manage to get my horizontals a bit askew whether that be with my DSLR or iPhone, it's not the end of the world of course because of the ability to straighten later with either the iPhone or Lightroom and Photoshop. But you can't beat getting it straight in the first place to help reduce cropping out part of the desired image later.
So to help keep my horizons straight I turn on the grid guidelines on the phone. This not only lines the image up to keep it straight but it also shows where to place parts of the scene using the 'Rule of Thirds" theory.
The theory is that if you place points of interest in the intersections or along the lines that your photo becomes more balanced and will enable a viewer of the image to interact with it more naturally.
Studies have shown that when viewing images that people’s eyes usually go to one of the intersection points most naturally rather than the centre of the shot – using the rule of thirds works with this natural way of viewing an image rather than working against it.
To turn this on go to SETTINGS - CAMERA - GRID and slide the button to activate.
AE/AF LOCK FOR PERFECT FOCUS & EXPOSURE
The AE/AF feature is invaluable for achieving perfect focus and exposure in your photographs, which allows you to lock both your focus and exposure values when taking a photo.
AE stands for Auto Exposure, which refers to the brightness of the image.
AF stands for Auto Focus, which refers to which part of the image is sharp and in focus.
If you were to just point your iPhone camera at a scene and depress the shutter, the camera will decide which part of the scene to focus on, which will usually be the centre of the frame and also what level to set the exposure at. To get the desired effect it is essential that the camera is focussing on your intended subject, so you set this manually yourself.
To set the focus point, you tap once on the iPhone screen, which also sets the exposure level. The camera will aim to make it an average setting. When you tap on the screen, a yellow box appears around that part of the scene and if you need to adjust swipe up or down accordingly. Most of the time this works well but in certain situations, if something in the scene moves for example , the camera's autofocus might kick back in and readjust your original setting. To counter this use the AE/AF lock feature to lock both the focus and the exposure values allowing you to have total control.
To lock both the focus and exposure, you tap as normal but keep your finger held down on the screen for a few seconds until you see AE/AF lock label in yellow at the top of the screen, you can then release your finger.
This will then stay locked until you tap on another part of the screen and even remains locked after you have pressed the shutter, which allows you to move about without having to recompose the setting again., just don't move closer or further away from your subject. You can still adjust the exposure in this mode by sliding your finger up and down on the screen. When finished just tap anywhere on the screen again to release the lock function.
BURST MODE
Have you ever been frustrated by missing that perfect capture when the subject has moved? I know I have on loads of occasions, that's why I always try and use 'burst mode' on the iPhone to give me much better chance of getting the best shot. This allow you take a whole series of photos in quick succession, my iPhone 6 for example takes up to 10 pictures per second.
To activate this function, just press and hold the shutter button down and you will see the frame count totalling up the images that you are taking. Don't worry about filling your iPhone's storage capacity up because you can easily sort through to the images that you want to keep. Just tap on the small square photo image on the camera screen and then tap on select and then scroll through the series of photos and those that you want to keep just tap in the circle in the corner to retain. You will notice that if a grey dot appears under any of the photographs as you are scrolling through them, this indicates that the iPhone has suggested that the photo is one of the better choices, based on sharpness, exposure etc. Click on 'Done" and you are asked if you want to keep the selected images or all of them. If you just select those that you like the rest of the 'burst mode' are then deleted.
ALTERNATIVE SHUTTER RELEASE
If you feel uncomfortable with the standard on-screen shutter release (the big white circle) or you are concerned with camera shake blurring your images there are alternatives.
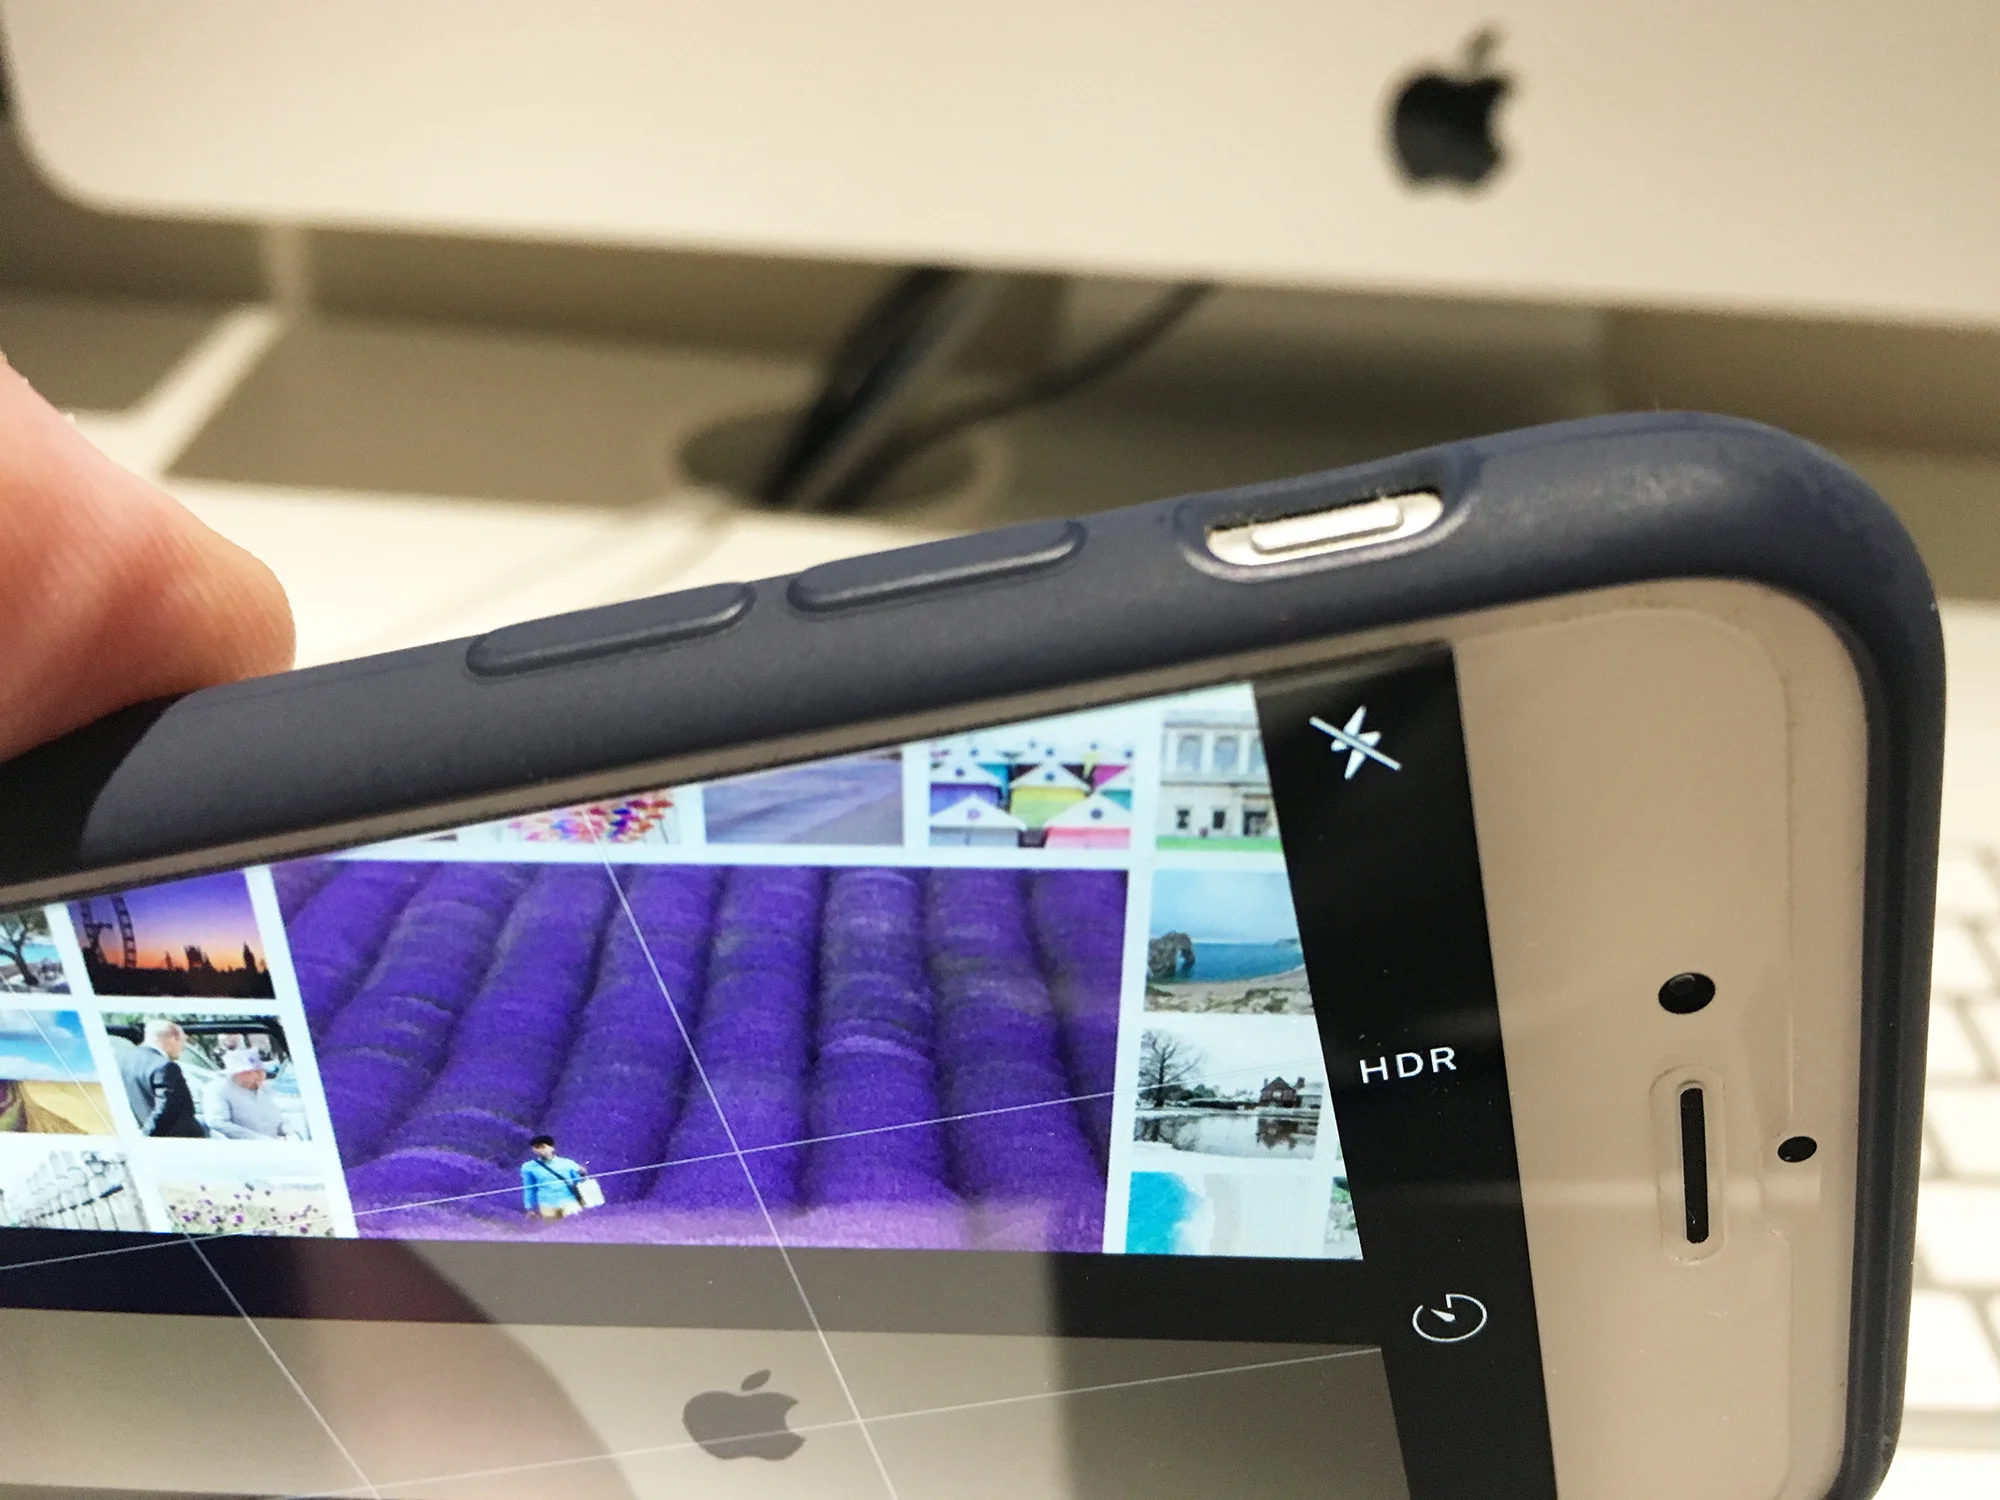
- The volume buttons will also work as a shutter release and either one of them too. A lot of people prefer this method because it is more like a physical release that a normal camera offers.
- Your Apple headphones are really useful for activating the shutter because they are discreet and it is not obvious that you taking a photograph, people will probably think that you are listening to music, which is ideal for street photography. They also eliminate the need to physically touch the iPhone thus reducing the possibility of camera shake, ideal as a shutter release if you mount the iPhone on a tripod. This method is also good for taking a selfie or group photograph.
- Bluetooth shutter releases are also available to buy, which can work up to 30 feet away fro the iPhone.
- The entire screen can be used to activate the shutter with some camera apps, such as ProCamera


